We are staying with Peter’s parents at the moment in the quiet French Auvergne countryside. They have managed to create a cosy spot for themselves that includes a vegetable and fruit patch in the backyard that yields truly beautiful fruits and veggies during the summer. Of course, there is quite a lot of sweat and tears that go into maintaining this place but the rewards are truly worth it.

Strawberries are a constant feature of their garden and every year there’s a bumper crop with ruby red strawberries waiting to be picked and devoured every day. So what to do with all the strawberries that keep popping up each day? Make jam. The cellar here is full of little jars of all shapes and sizes filled with jams, preserves and pickles made from fruits and vegetables year on year.

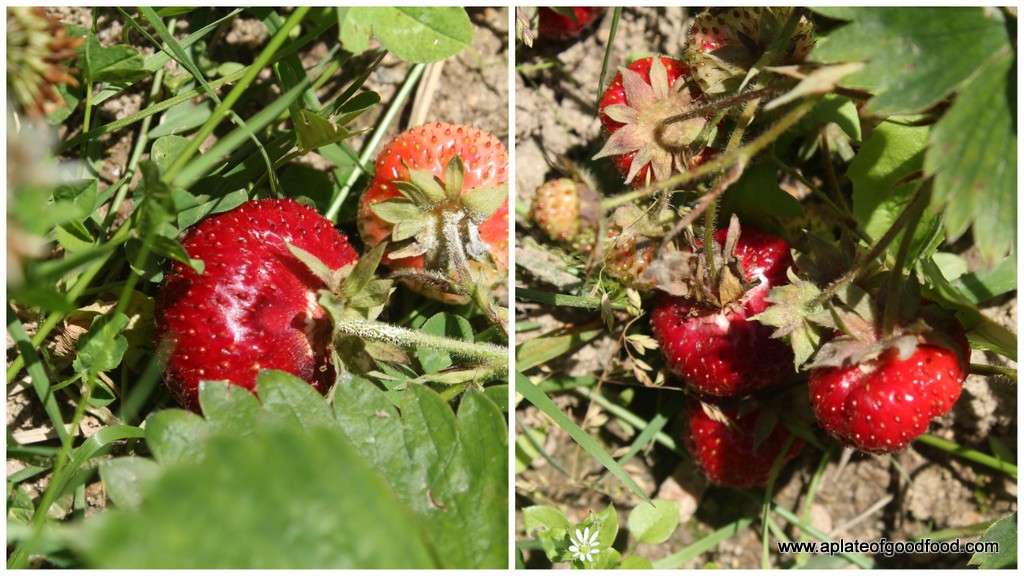
We’ve been picking strawberries from what seems like an unending supply ever since we arrived here last Sunday evening. Yesterday, since there were threatening rain clouds in the sky, we filled an entire bucket with as many ripe strawberries as we could with the intention of starting on the year’s first batch of jam.


From my own grape jam making experience, I know that there’s nothing like making and relishing your own jam. Making it with strawberries is in fact a tad easier as it does not involve the tedious process of separating the skin from the flesh as with grapes.


We had over 4.5kg of fruit which yielded around 16 jars of jam. We used jam making sugar that contains pectin (commonly found in supermarkets) at the ratio of 1kg of sugar for every 1.2 kg of fruit. The good strawberries were first separated from the not so good ones. They were then weighed and given a quick wash. We made two variations. For the first batch, we left in chunks of fruit, just mashing it down with sugar before cooking it on the hob. For the rest, we blended the fruit first before adding the sugar.


Whichever way you go, the basic process is the same – Mix the fruit and appropriate amount of sugar together in a large wide pan. Place the pan on a medium-high heat and let it cook stirring continuously. After just over 10 minutes (the time taken depends on the amount of fruit you’re cooking), you will see that the liquid starts bubbling and boiling, rising up (similar to boiling milk). This indicates that the fruit is now cooked. Reduce the heat and let it cook for another 5 minutes or so to let it thicken.

To check if it has the right consistency, place a small plate in the freezer just before you begin cooking. Once you think it’s about done, take the plate from the freezer, place a small amount of the hot liquid from the pan onto the plate. Let it cool for a few seconds. Then check for consistency by pushing through it with a finger. If it wrinkles and is not runny, it’s perfect. If not, keep cooking for another few minutes and repeat the test.
Once the jam is ready, remove the pan from the heat and transfer to sterilised glass jars using a large ladle and funnel. Close the jars tightly with their lids and leave them turned upside down (this is to prevent any air pockets from forming on the top) for a few minutes. When cool enough, turn them over and store in a cool place.


Enjoy your very own home made jam, better than any store bought variety as often as you like. The colour and taste of this jam is so vibrant that I think everybody should try this even if it means getting some fresh fruit from the market.


Leave a Reply